

DIY Christmas Shirt Ideas for Every Skill Level
Your Christmas shirt deserves more personality than a reindeer trapped in a corporate clip-art folder. These DIY Christmas shirt ideas give you doable options for different skill levels, budgets, and tools, without demanding a studio full of equipment.
You can paint snowflakes, press iron-on vinyl, try bleach effects, stitch tiny details, or dye a tree. Pick one strong design, then add the fandom reference or inside joke that makes it yours.
Start with the look you want, and choose a method your supplies, schedule, and wallet can handle.
Key Takeaways
- Start with recognizable shapes, such as snowflakes, trees, or gingerbread characters, then add your own humor.
- Match your method to your existing tools instead of buying equipment for one shirt.
- Check fabric compatibility and follow the directions for your paint, vinyl, dye, or transfer system.
- Treat bleach as a chemical project, with ventilation, protective equipment, and a hidden-area test.
- Plan for drying, curing, and washing before your shirt's holiday debut.
DIY Christmas Shirt Ideas You Can Make at Home
Paint Snowflakes, Lights, or a Minimalist Tree
For a tape-resist snowflake, arrange narrow masking-tape strips into crossing lines. Dab compatible fabric paint around them, then remove the tape as your materials direct.
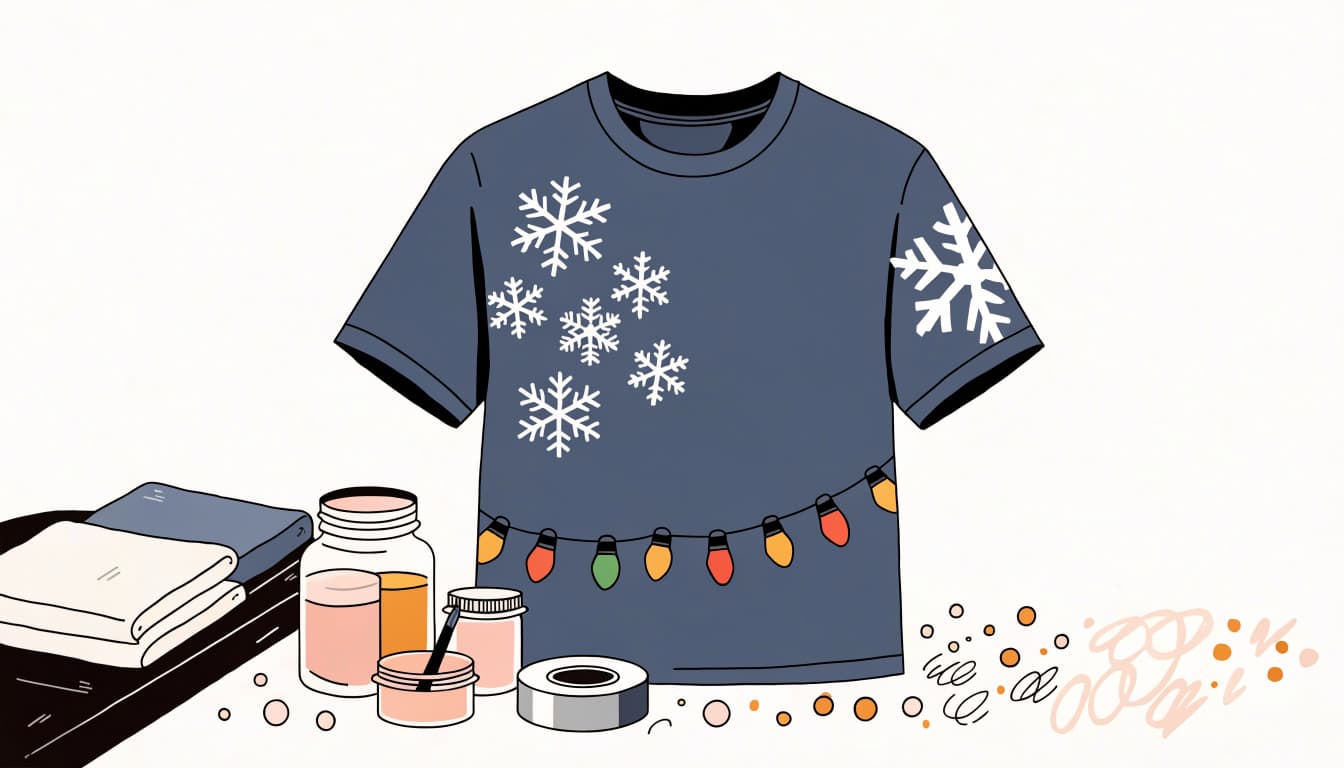
Slide cardboard inside the shirt first to stop paint bleeding through. Prefer something brighter? Repeat small Christmas-light shapes along a painted cord. A triangular tree stencil gives you a cleaner, minimalist option.
Creative Ramblings' fabric-stenciling tutorial shows approachable techniques before you commit to your shirt.
Create a Santa, Gingerbread, or Gamer Graphic
Give Santa chunky sunglasses, draw a sleepy elf, or put a headset on a gingerbread character. Your cookie has ranked matches after this.
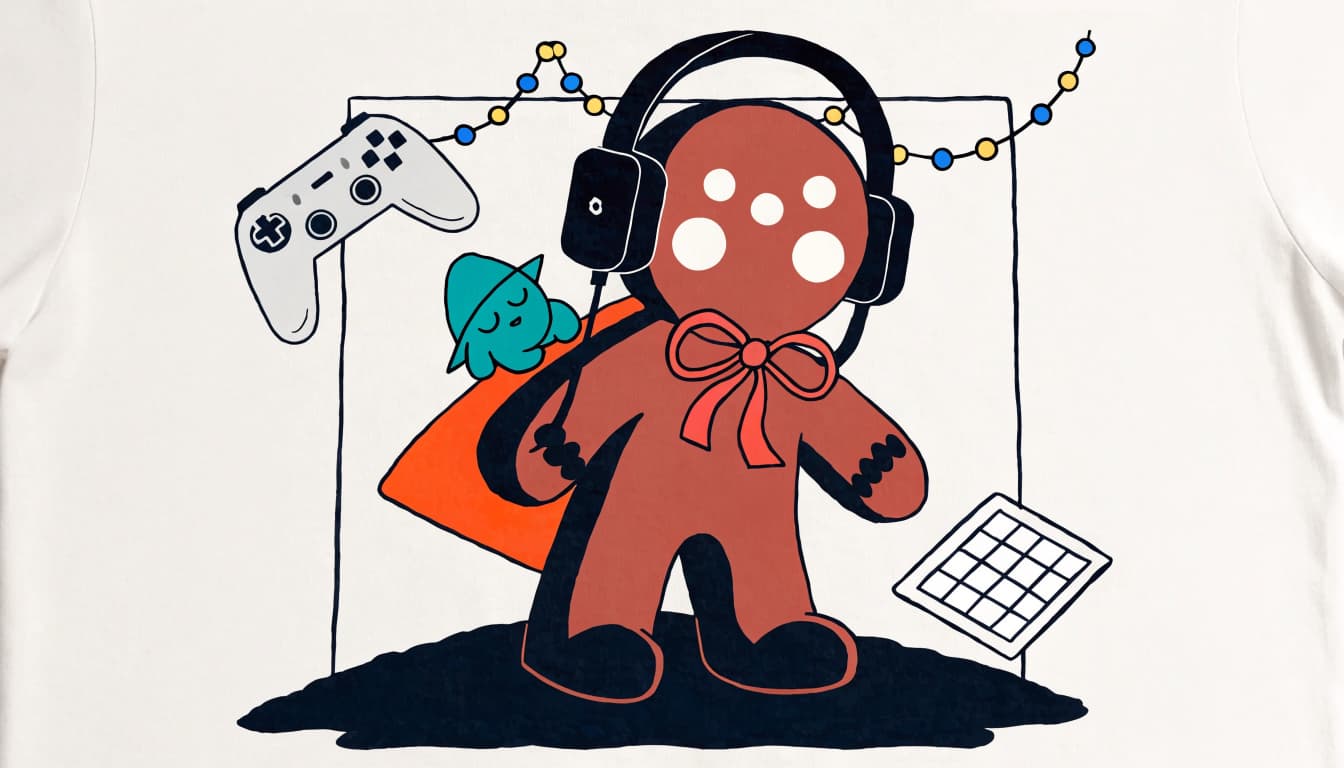
Sketch the layout on paper before touching fabric. Keep lettering short, such as "Holiday Lag," with generous space around it. One character and one joke read faster than an entire Discord conversation.
Try a Tie-Dye Tree or Sewn Fabric Applique
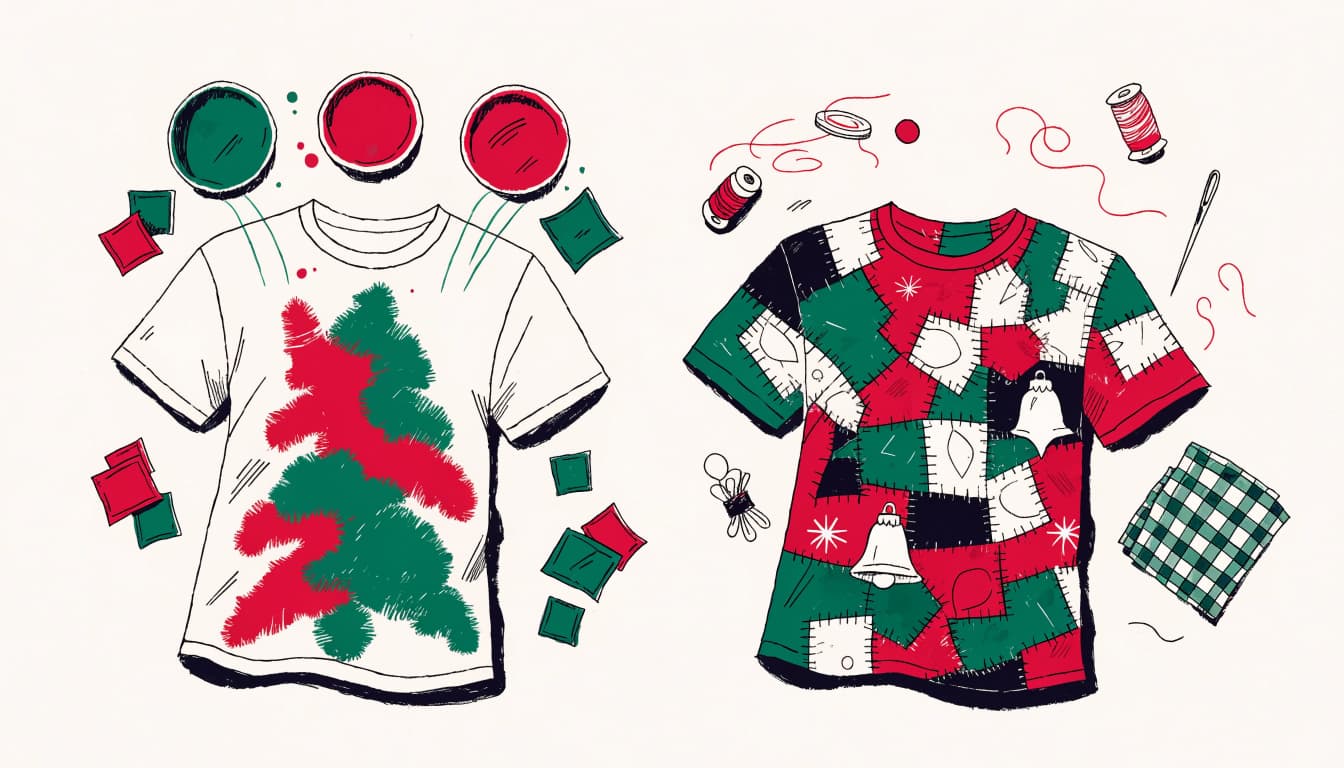
Fold and bind a tree-shaped area using your dye kit's technique. Place green within that section and red elsewhere, with space between colors to limit muddy overlap.
For sharper edges, cut red and green fabric into stacked triangles for a patchwork tree. Hand-stitch or machine-sew the pieces onto your shirt, securing the stitch ends.
Use scraps with different patterns for a deliberately mismatched tree. Your festive forest can handle a little chaos.
Choose the Right DIY Method for Your Time and Supplies
Use Iron-On Vinyl for Clean, Bold Designs
Heat-transfer vinyl works well for bold silhouettes and short lettering. Typical supplies include a cutter, compatible vinyl, a weeding tool, and an iron or heat press.
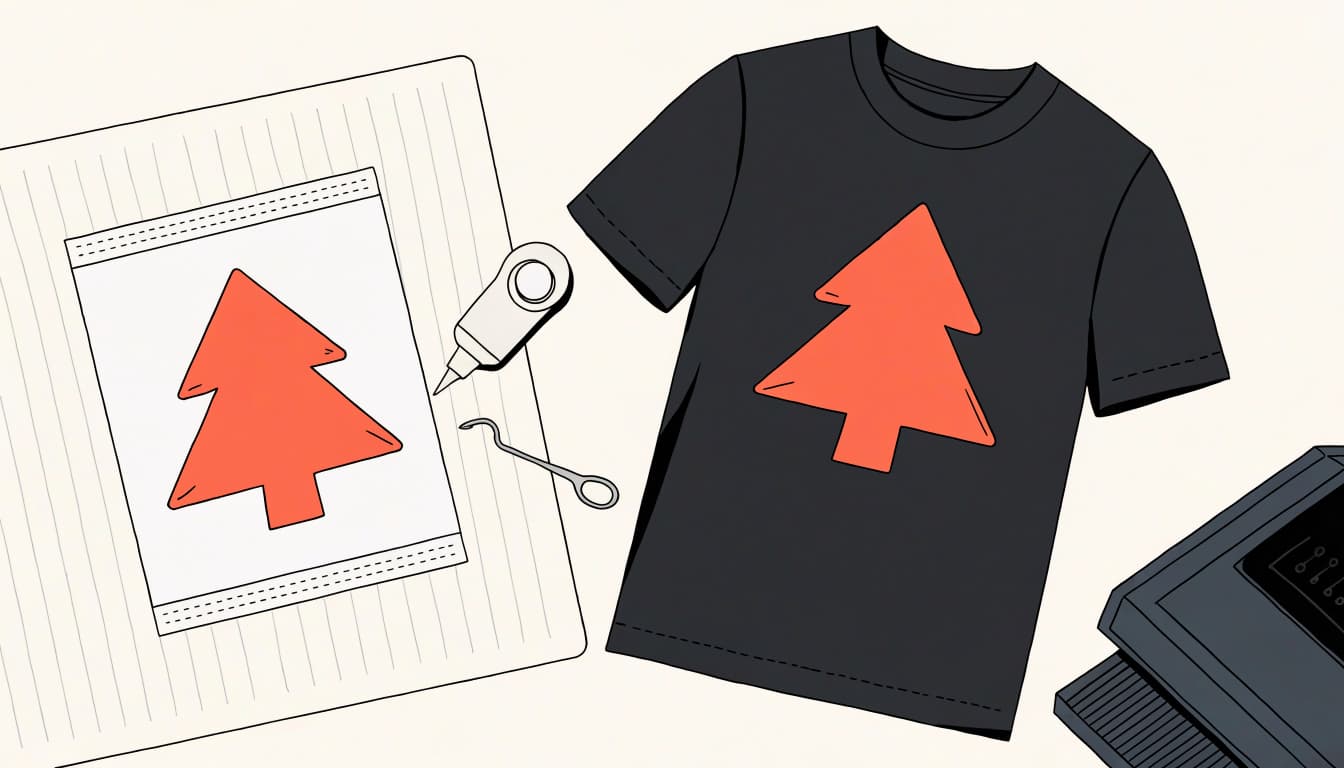
Mirror your artwork before cutting. Cut, weed away unwanted material, position the design, and apply it using the vinyl maker's instructions. Check pressure, temperature, application time, and carrier-peeling directions. Those details belong to your product, not a random comment thread.
Pick Fabric Paint for a No-Cutter Project
Fabric paint and stencils let you work without a cutting machine. Test your brush, stencil, and paint on scrap fabric first.
Use light applications around stencil edges rather than flooding them. Follow your paint label for drying, heat-setting, and washing.
For example, Handy Art's fabric-paint instructions require heat-setting for permanence. That requirement doesn't apply to every brand or formula.
Use Bleach, Embroidery, or Sublimation with Care
Bleach removes color for faded contrast, but the resulting shade varies. Test a hidden area and check the garment and product labels.
Follow the Virginia Department of Health's bleach safety guidance: ventilate, wear gloves and eye protection, and never mix bleach with household cleaners. Protect your work surface, too.
Embroidery suits small stars, initials, and pixel-like details. Sublimation transfers a printed design using heat; confirm that your shirt fabric, inks, transfer materials, and equipment are compatible before buying supplies.
Make Matching Shirts That Still Feel Personal
Matching holiday shirts can share a theme without assigning everyone the same personality. Your group chat already has enough forced participation.
Choose one repeated element, such as a small tree, string of lights, or gingerbread outline. Keep its placement consistent across the shirts, then change one detail for each wearer.
Your gamer gets a headset. The friend who disappears after dinner gets a sleepy elf. Someone's cat can become a simple face with tiny antlers. Use original sketches or artwork you have permission to use, especially if you'll sell the shirts.
For a subtler set, repeat the same embroidered star and change the thread color. You can put initials near a sleeve hem instead of printing names across everyone's chest.
Keep the shared design simple if you're making several shirts. Repeating a two-color stencil is easier to manage than assembling six different layered graphics.
Before decorating the whole batch, finish one shirt and check the result. Confirm that the design size, application method, and care requirements work for that blank.
These DIY Christmas shirt ideas also make personal gifts without requiring a new machine. Reuse suitable fabric scraps, borrow a stencil, or work with paint you already own.
Prep Your Shirt and Make the Design Last
Wash, Size, and Position the Shirt Before Decorating
Check the garment label and decorating-product directions before prewashing. When required, prewash as instructed, dry the shirt, and smooth it before laying out your design.
Measure the wearer rather than trusting a familiar size label. For gifts, compare a shirt they already like using this shirt-measuring guide.
Position your paper template or unpressed vinyl on the blank first. Check whether a jacket will hide the artwork.
Insert cardboard for paint or fabric-glue projects. For sewing, keep the front and back separated so you don't stitch the shirt shut. Festive, but difficult to wear.
Follow Material Directions for Heat, Drying, and Washing
Your supplies have different finishing rules. Tulip Brush-On Fabric Paint directs you to dry the shirt flat for at least four hours and wait 72 hours before washing.
Tulip Fabric & Upholstery Paint doesn't require heat-setting. That difference is exactly why you need the directions for your actual bottle.
When heat-setting is required, consult your label before using Dharma Trading's heat-setting guidance. Check that the garment can tolerate the required process.
Dye has its own rinsing and washing instructions. Vinyl and transfers have their own heat and care requirements. Let each product finish its prescribed drying or curing period before wearing or laundering it.
Dry to the touch doesn't automatically mean ready for the washing machine. Check the full waiting period.
Streetwear & Casual Styling
Your handmade Christmas shirt doesn't need matching novelty trousers to qualify as festive. Give the artwork room to exist.
Pair a bold gingerbread graphic with relaxed cargos and simple sneakers. Dark-wash denim works with colorful lights, while an open overshirt keeps a minimalist tree visible without making the outfit feel costume-heavy.
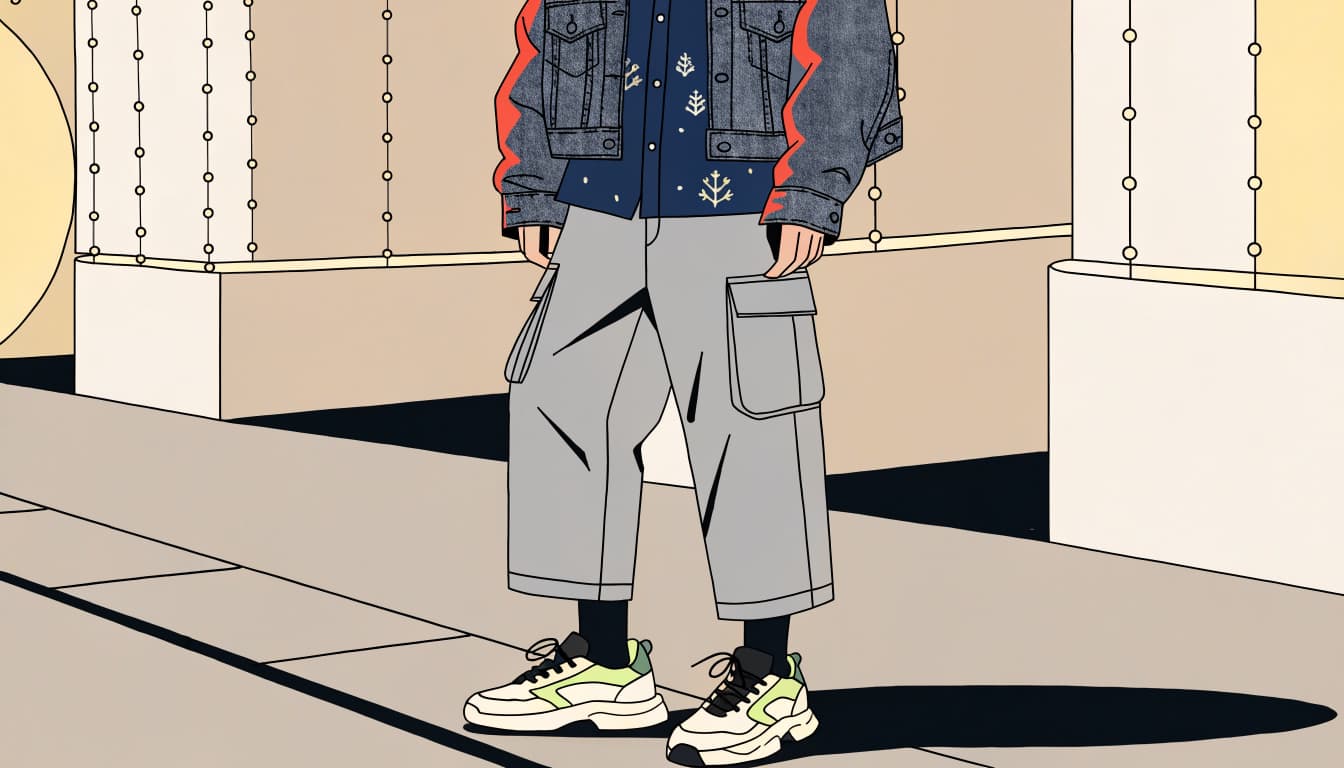
If your tee is oversized, add a shorter jacket or substantial shoes to balance the silhouette. These graphic tee outfit ideas offer more ways to work with proportion.
TrendReactTees' Cyber-Brutalist Anime Graphic Tees pair bold artwork with fandom references and internet-culture humor. You can use the same styling logic around your custom holiday art: let the graphic lead, then keep surrounding pieces quieter.
A headset-wearing gingerbread character already broadcasts your gaming allegiance. Add clean layers rather than competing graphics across every garment.
For December gatherings, try a long-sleeve base layer beneath your tee. Check where its cuffs and collar sit before choosing accessories. Your holiday joke should remain readable, even when the weather demands extra clothing.
Frequently Asked Questions
What Is the Easiest Way to Make a Christmas Shirt?
A small fabric-paint stencil is approachable when you don't own a cutter. Choose a broad shape, such as a tree, rather than tiny lettering. Your easiest option still depends on the tools you have and how much detail you want.
Can You Use Regular Acrylic Paint on a Shirt?
Fabric paint is generally the simpler choice for wearable artwork. Regular acrylic can feel stiff or perform poorly through washing. If you want to use it, check the manufacturer's fabric-use guidance, including any compatible medium and finishing requirements.
How Do You Keep Iron-On Vinyl from Peeling?
Use the application and care directions for your specific vinyl, including pressure and carrier-peeling instructions. Cricut's ordinary Iron-On guidance says to wait 24 hours before washing; its Printable Iron-On instructions specify 48 hours. Don't swap instructions between those products or assume another brand uses either waiting period.
How Far Ahead Should You Make a Christmas Shirt?
Leave room for designing, decorating, full drying or curing, and any recommended first wash. Starting several days ahead gives you breathing room, but some products need longer. For example, Fabrilish's paint-care directions specify a 10-to-14-day wait after heat-setting before washing. Start earlier for sewn, layered, or mailed gifts.
Make Your Holiday Shirt Personal
Choose one of these DIY Christmas shirt ideas that fits your style, then start with supplies you already have. A simple tree, sleepy elf, or tiny stitched star is enough to build around.
Give yourself time to finish it properly. Your personal detail, whether it's a gamer reference or a friend's initials, makes the shirt more memorable than another generic holiday print.
The reindeer clip-art folder can sit this Christmas out.