

Model Pose Reference: Draw Movement, Not Stiff NPCs
A model pose reference helps you understand how a person's body moves, balances, and takes shape before you commit to a drawing. Photos, timed drawing tools, and 3D models give you different ways to practice, but your goal is to understand the pose rather than copy every contour.
You can study how someone carries their weight, turns their torso, or communicates attitude, then make those observations work for your character. That gives you more control than borrowing an impressive stance and hoping the anatomy survives.
Start by choosing a reference that answers your drawing problem, then build the pose while keeping image rights in mind.
Key Takeaways
- Choose photos for real anatomy and lighting, timed tools for gesture practice, and 3D models for studying unfamiliar angles.
- Judge the movement, balance, silhouette, and overlaps before getting distracted by dramatic details.
- Build your drawing with a gesture and simple forms before polishing clothing or facial features.
- Online access and artist credit don't grant permission to reproduce an image.
- Keep character-defining details consistent, then carry that same personality into your everyday styling.
Where to Find a Model Pose Reference for Your Next Drawing
Your starting point depends on what you're trying to draw. A useful reference answers a specific question.
Compare photo libraries and 3D options
Line of Action offers photo references for figure drawing, hands and feet, faces, animals, and more. Its original features remain free, while some newer features require membership.
Quickposes is another option for timed gesture practice. Its library images are copyrighted and intended for practice or inspiration, not unrestricted reuse. Posemaniacs gives you another starting point for exploring 3D poses.
Sketchfab has searchable 3D models. Each model has its own license, and the available viewer controls affect how you can inspect it. Library access doesn't remove image copyright restrictions.
Choose the right kind of reference for your goal
Use a full-body pose when you're studying balance, walking, or how the torso connects to the legs. Choose a close view when expression or hand structure is the problem.
A rotatable 3D model helps when you need another angle on a form. It can clarify which part projects toward you and which disappears behind the torso.
Keep your reference focused. A dramatic rooftop stance won't automatically teach you how a relaxed shoulder works.
For a movement-first demonstration, watch Proko and Steven Michael Hampton's The 16 Line Gesture Method.
How to Choose a Pose That Feels Clear and Natural
Before drawing, name the action: resting, reaching, bracing, turning, or stepping. That simple decision helps you judge whether the reference communicates what you need.
A clear model pose reference often teaches you more than one buried under props, dramatic clothing, and aggressive lighting.
Look for the line of action and a readable silhouette
Find the body's main curve or directional force. It might run through the spine, continue through a reaching arm, or curve into a bent leg.
Then notice the shoulder and hip tilts. Identify the weight-bearing leg and the spaces between the limbs.
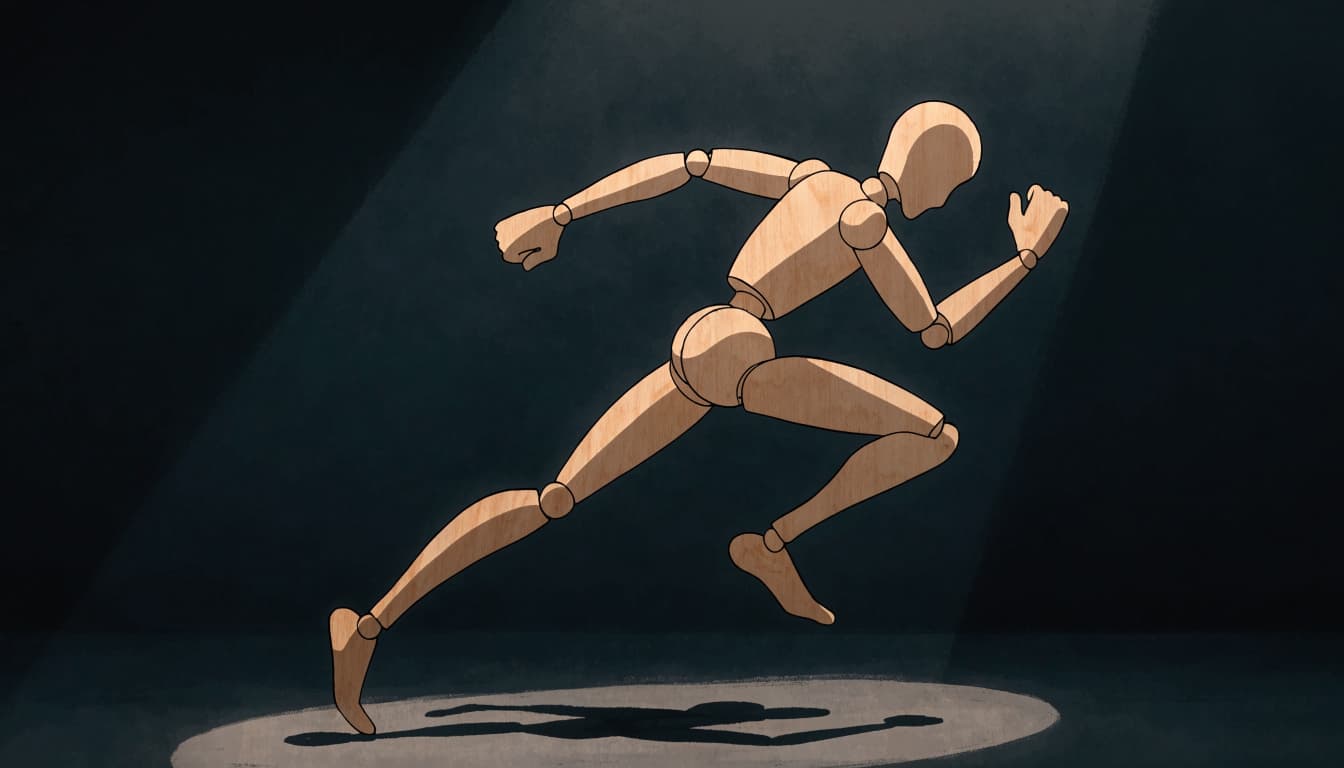
Imagine filling the figure with one solid color. Would you still recognize the action? If the arms vanish against the torso, choose a clearer angle.
For standing poses, look at how the body settles over its support. Your character needs convincing footing, even if their backstory includes gravity-related crimes.
Match the pose to your character and scene
A tucked chin can suggest hesitation. Open shoulders can communicate confidence. A guarded stance might fit someone expecting trouble before dialogue begins.
Choose the pose for that purpose, rather than because it earned impressive engagement online. Popularity doesn't fix an unreadable elbow.
For recurring characters, preserve defining facial features, body proportions, hairstyle, and clothing details. Keep lighting and rendering aligned across images, too.
You can change the gesture without accidentally replacing your character between panels. Watch how sleeves bunch, jeans crease, and accessories sit as the body turns. Those details should follow the movement instead of floating like detached inventory items.
Use Your Pose Reference to Build a Stronger Drawing
Your reference supports observation. You still decide which shapes to emphasize, how far to push proportions, and what belongs in your visual style.
Start broadly. Beautiful eyelashes can't rescue a pelvis facing the wrong direction.
Start with a quick gesture drawing
Gesture drawing captures movement before detail. Practice poses often last about 30 seconds to two minutes, so you have to prioritize.
Draw the line of action first. Place the head, rib cage, and pelvis, then connect the limbs. Keep your marks loose enough to change.
If you're new, allow yourself up to 30 seconds to identify the main movement before drawing. Work toward spotting it faster as you gain confidence.
Try several short poses, then spend longer on one that confused you. You'll get quick practice and time to understand the awkward part.
Judge a gesture by whether you captured its movement, not whether it looks frame-ready.
Build the figure with simple forms and check your work
Use an egg-like mass for the rib cage, a box or bowl for the pelvis, and cylinders for limbs. These forms help you understand direction and depth.
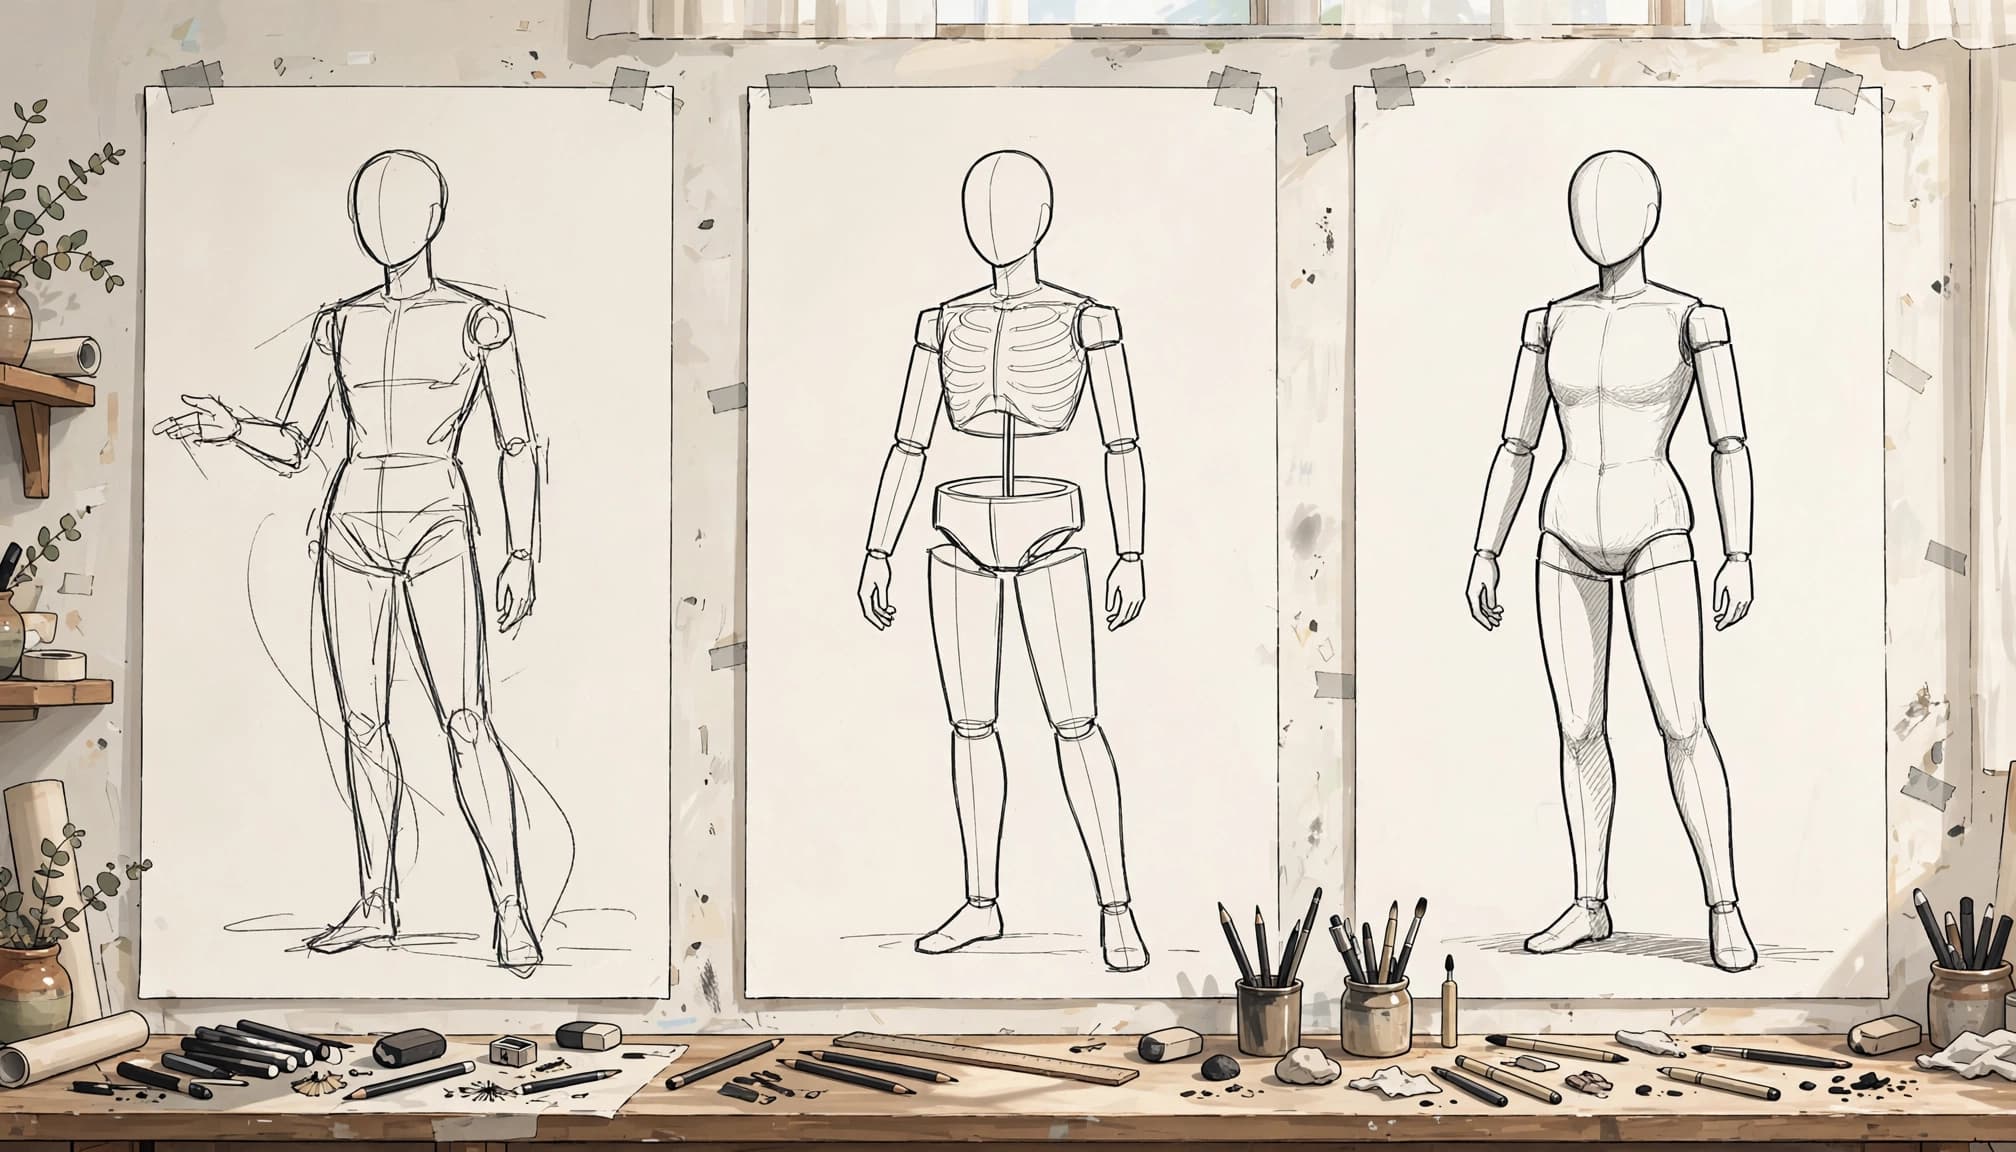
Compare the sketch with your model pose reference. Look at limb angles, relative lengths, shoulder tilt, and the distance between the rib cage and pelvis.
Study overlaps to see which form sits in front. Foreshortened limbs can appear shorter because they point toward you, not because your character unlocked compact mode.
When a pose looks wrong, check the torso and pelvis before redrawing every hand and foot.
Correct unclear structure before polishing details. Save rendering for a figure whose weight and action already read.
Use Reference Photos Responsibly and Respect Image Rights
Private study and public reproduction are different uses. Drawing privately to learn anatomy isn't the same activity as publishing a closely adapted image, selling prints, or putting that adaptation on merchandise.
A photo being online doesn't make it free to reproduce. Owning a downloaded file, print, or book doesn't mean you own the photograph's copyright.
Fair use depends on the facts of a particular case. Its considerations include purpose, the copyrighted work's nature, the amount used, and the effect on its market. The Center for Media & Social Impact's fair use questions and answers explains the doctrine. Being an artist doesn't automatically settle those questions in your favor.
For a clearer permission trail, take your own photos, obtain permission, or use images licensed for your planned use. If someone poses for you, agree on how their image will be used.
Follow license conditions, including attribution, restrictions on adaptations, and limits on commercial use. A license allowing personal study may not cover a published character illustration or shirt design.
Save the original source, license text, and permission records with your project files. Credit acknowledges the creator; it doesn't replace permission.
Your reference folder should contain useful poses and usable records, not a future scavenger hunt through browser history.
Streetwear & Casual Styling
The choices that make a drawn character feel personal can shape your own outfit. Silhouette, color, and recognizable details work outside the sketchbook, too.
Think of your look as a character sheet with the personality turned up slightly. You can signal your interests without dressing like the entire convention vendor hall.
Build around one of our Cyber-Brutalist Anime Graphic Tees. Relaxed cargos give bold artwork breathing room. Dark-wash denim keeps the outfit grounded, while an open overshirt adds structure without covering the graphic completely.
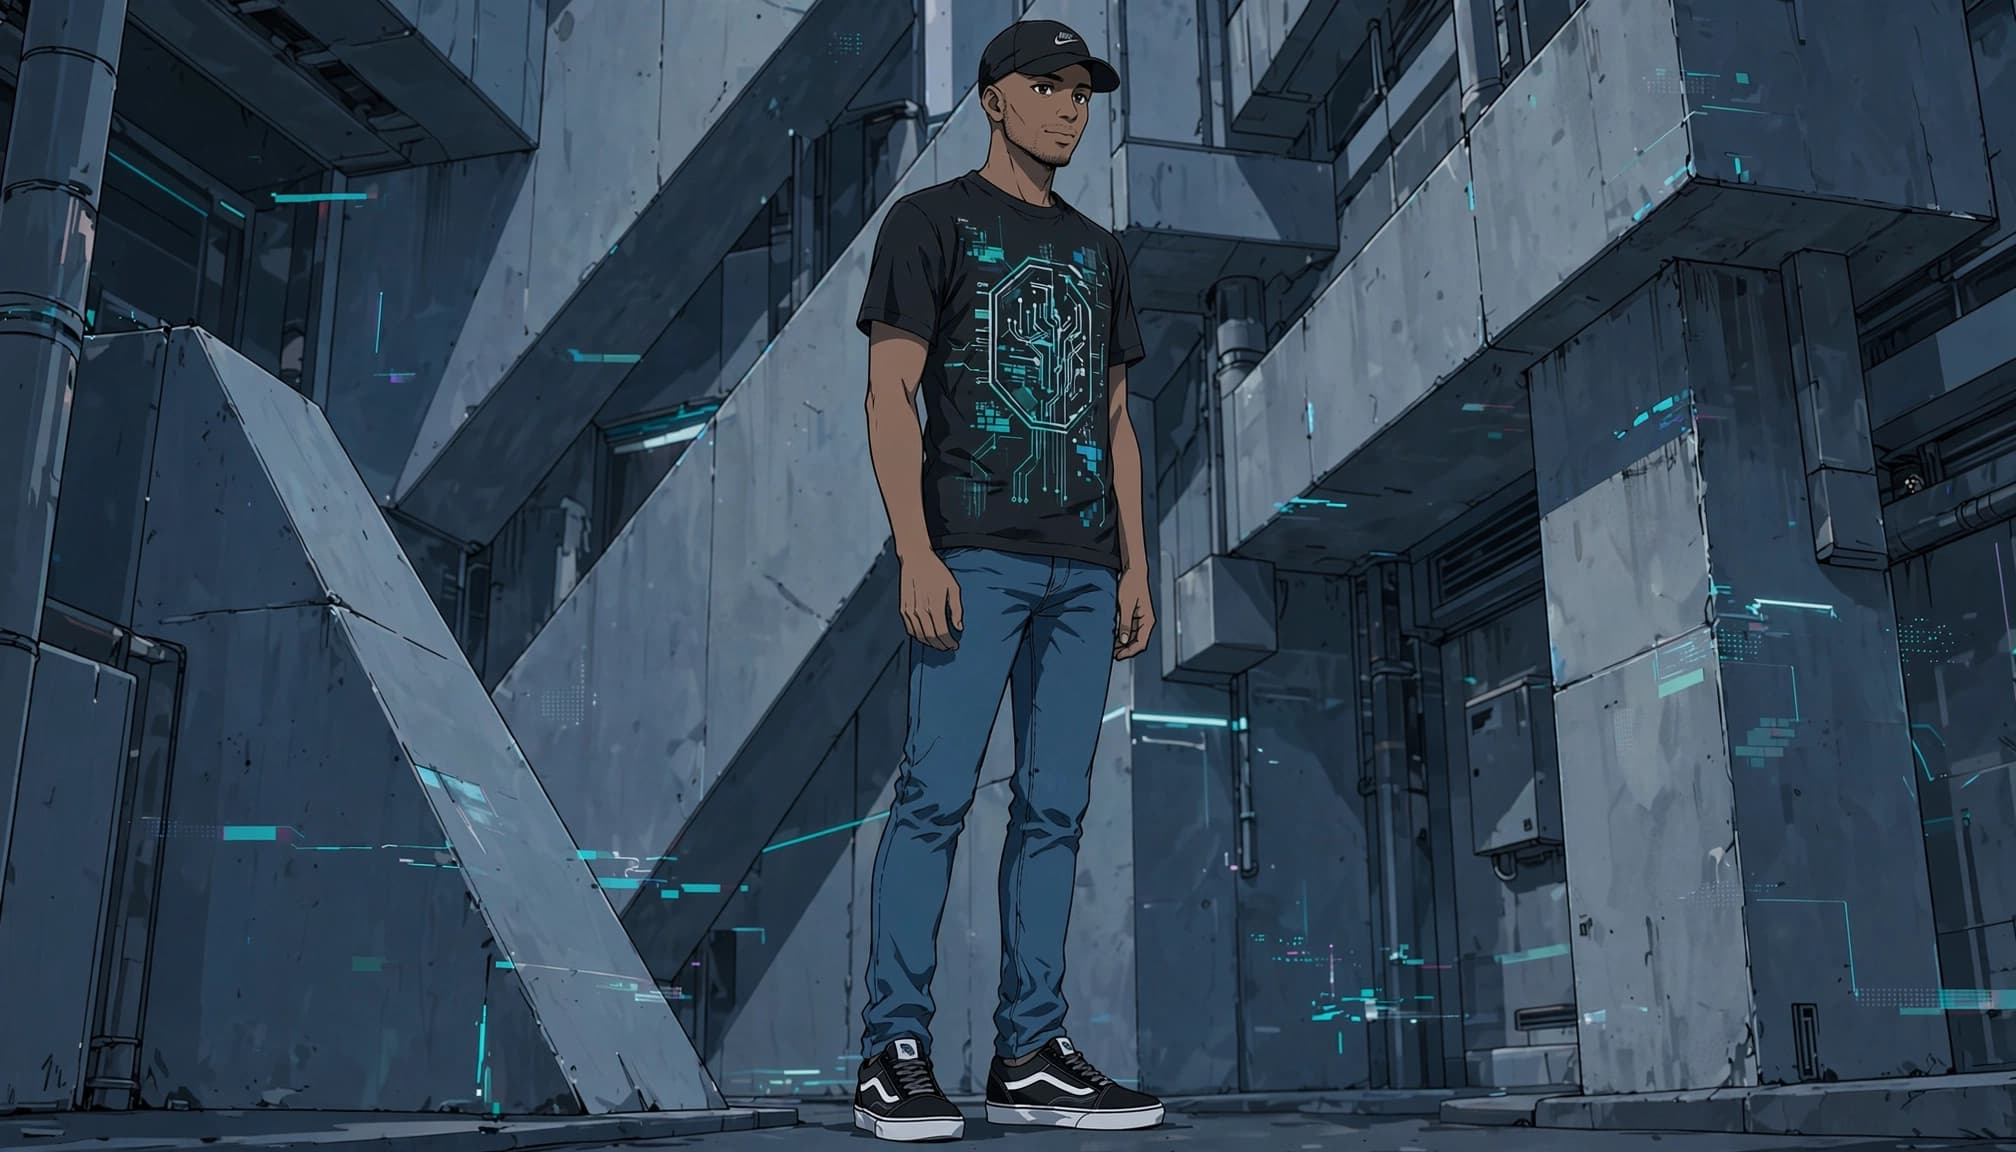
For layered streetwear, try a plain long-sleeve shirt underneath and repeat one color from the artwork in your accessories. Let the graphic remain readable instead of competing with three other prints.
Our graphic tee styling ideas give you more ways to balance fit and layers.
Use the same judgment you bring to a pose: does the silhouette read, and do the details feel intentional? Your outfit can carry fandom energy while staying comfortable enough for an ordinary Tuesday.
Frequently Asked Questions
How long should you spend on a gesture drawing?
Quick practice poses often last about 30 seconds to two minutes. Begin with a little more time if you're still learning to identify movement. Shorten the timer once you can place the major body masses without rushing blindly.
Can you use a photo you found online as a drawing reference?
Online availability doesn't grant permission to copy or publish a photo or close adaptation. Match the license or permission to your intended use. These principles for legally using images also matter when you share finished work publicly.
Is a 3D pose model better than a photo reference?
Neither is always better. Photos show real bodies, clothing, and lighting, while a 3D model may let you inspect different angles. Use whichever gives you the information your current drawing needs, and remember that simplified models can omit anatomical detail.
What should you draw first when studying a pose?
Start with the main line of action, then place the head, rib cage, and pelvis. Add limbs after those masses establish direction and balance. Keep smaller details for later so you can correct the structure without sacrificing finished rendering.
Give Your Characters Convincing Movement
References help you learn movement, structure, and expression. Your choices give those observations a recognizable character.
Start with a clear pose, build the major forms, and protect the details that make your design distinct. Respect image rights whenever your work moves beyond private practice.
Keep practicing the decisions that matter: where the weight sits, how the action reads, and what the stance communicates. A convincing character can have outrageous lore. Their knees should still make sense.