

Toilet Install Dimensions: Measure Before You Buy
Your replacement toilet can look perfect online and still pick a fight with your bathroom wall. Accurate toilet install dimensions help you avoid a tank that won't fit, cramped knees, or a door that smacks the bowl.
Before you buy, you need the rough-in, usable clearance, and the exact model's dimensions. A familiar-looking toilet isn't proof that your replacement will fit.
Start with the drain location, then check bowl size, seat height, nearby fixtures, and door swings. Your tape measure gets the final vote, even when the product photos look suspiciously convincing.
Key Takeaways
- Measure rough-in from the finished wall to the flange center, never from the baseboard or decorative trim.
- A 12-inch rough-in is common, but 10-inch and 14-inch options exist, so check yours before shopping.
- Plan around common residential clearances of 15 inches beside the centerline and 21 inches in front.
- Compare the exact model's full projection, installed seat height, and water-supply requirements before you buy.
- Check local codes and applicable accessibility standards before changing your bathroom layout or moving the drain.
Toilet install dimensions: start with rough-in and toilet size
Your drain location is fixed unless you move plumbing. Toilet height, width, and projection vary by model.
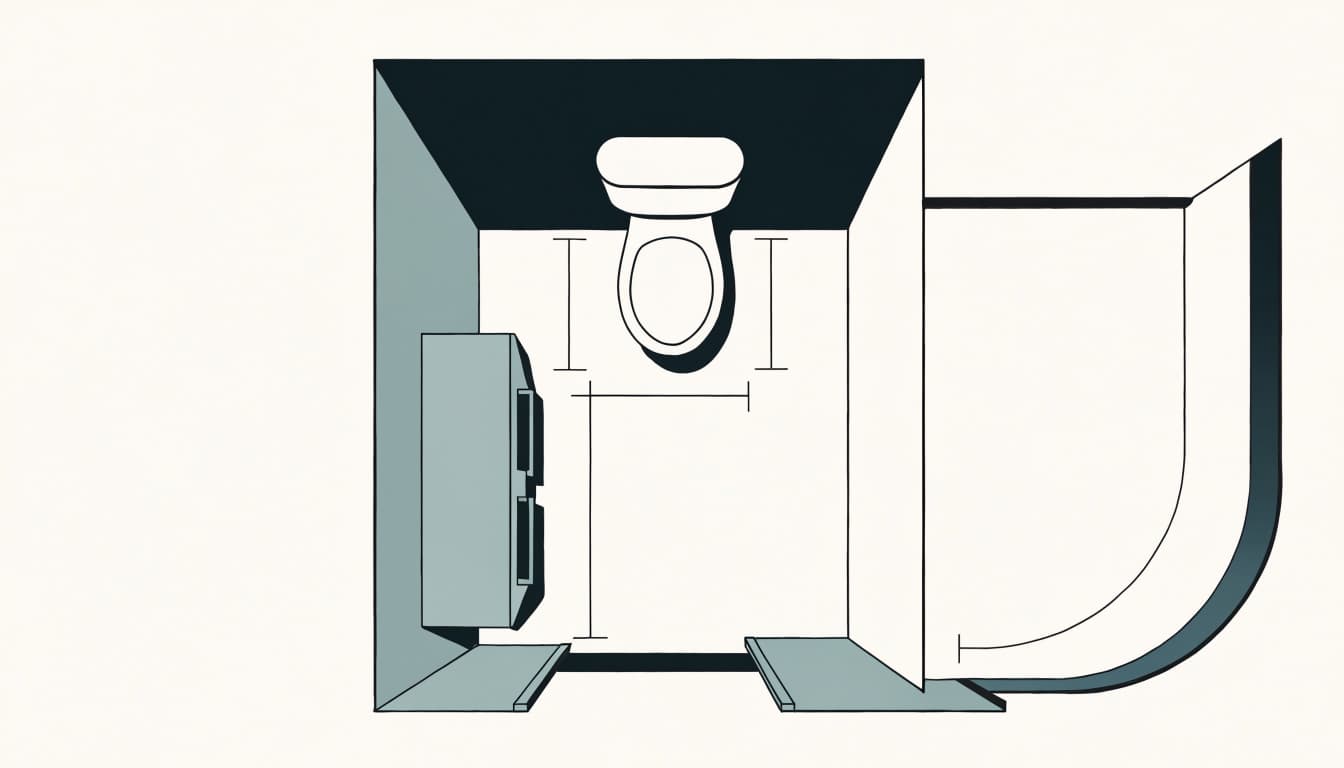
Measure the rough-in from the finished wall
A typical US rough-in is 12 inches. You measure perpendicular to the finished wall behind the toilet, ending at the closet flange's center.
With your existing toilet installed, measure to the center of the floor-bolt caps. On a conventional installation, these bolts align with the flange center.
Once you remove the toilet, measure directly to the flange center. That gives you a clearer reference without porcelain blocking your view.
Skip the baseboard. Measuring from trim makes the apparent rough-in shorter. Also account for planned wall finishes, since new tile changes the finished-wall position.
You can find 10-inch and 14-inch toilets, too. Twelve inches is common, not a universal default setting.
For a visual walkthrough, Tapp Plumbing demonstrates how to measure for a replacement toilet.
Check the toilet's full size, bowl shape, and seat height
Round bowls usually need less front-to-back space than elongated bowls. However, tank design and wall gaps also affect the full installed projection.
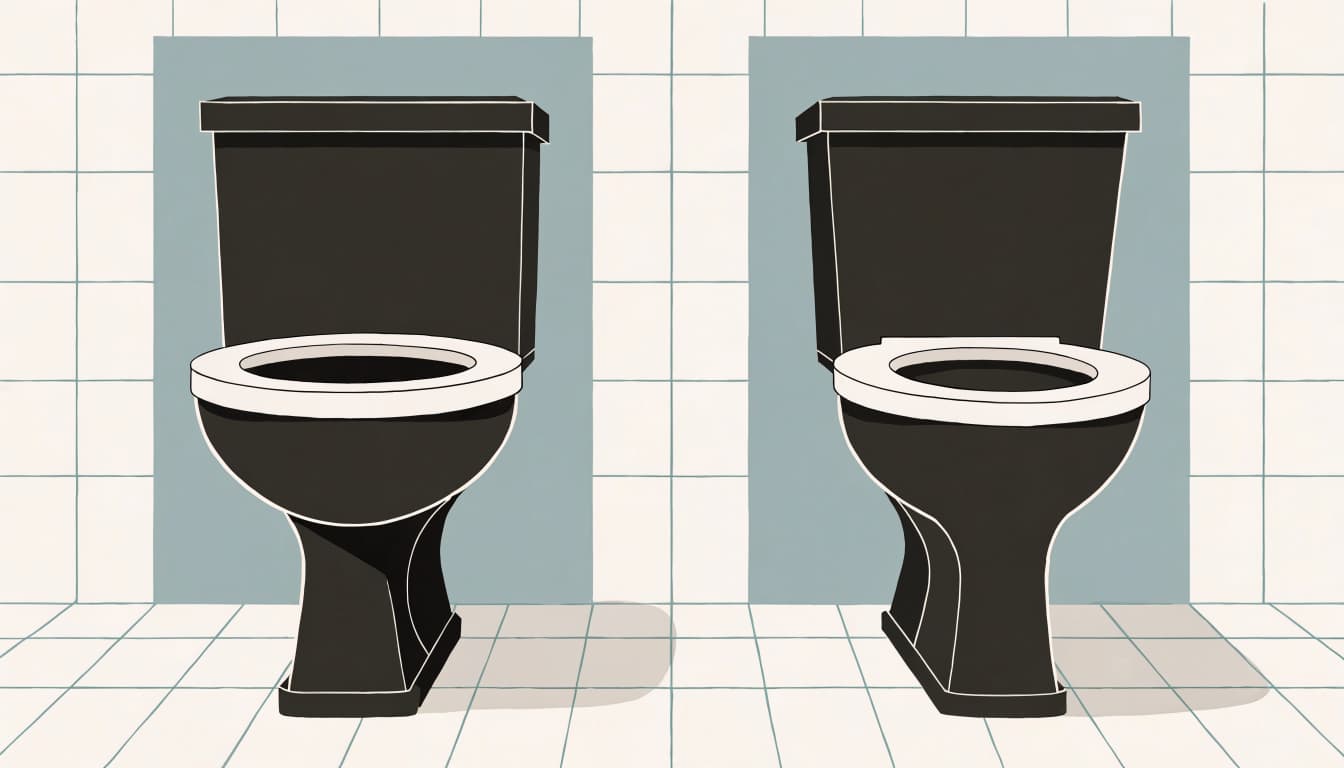
Standard models often measure roughly 14 to 17 inches to the installed seat top. Comfort-height models commonly reach 17 to 19 inches.
Check whether a listed height describes the bowl rim or the installed seat. Those measurements aren't interchangeable.
Use the manufacturer's specification drawing for exact height, width, and projection. Your shopping filter is useful; your model drawing is the actual fit check.
Leave enough room around the toilet for comfortable use
A toilet can fit the drain and still leave you trapped between the vanity and shower.
Plan side and front clearance before you install
Common US residential guidance calls for at least 15 inches from the toilet centerline to each side obstruction. Front clearance commonly starts at 21 inches, measured beyond the bowl's front edge.
Side clearance starts at the centerline, not the porcelain edge. Measure toward walls, cabinets, shower edges, and other fixtures.
When space allows, about 18 inches beside the centerline and 30 inches in front can feel more comfortable. Treat those as planning preferences, not universal requirements.
Open nearby doors while measuring. A closed door can hide a collision that becomes painfully obvious after installation. Check your locally adopted code before finalizing the layout.
Know how accessible toilet dimensions differ
Accessible layouts need more than a taller seat. The U.S. Access Board's toilet-room guidance covers placement, clearances, grab bars, and other requirements.
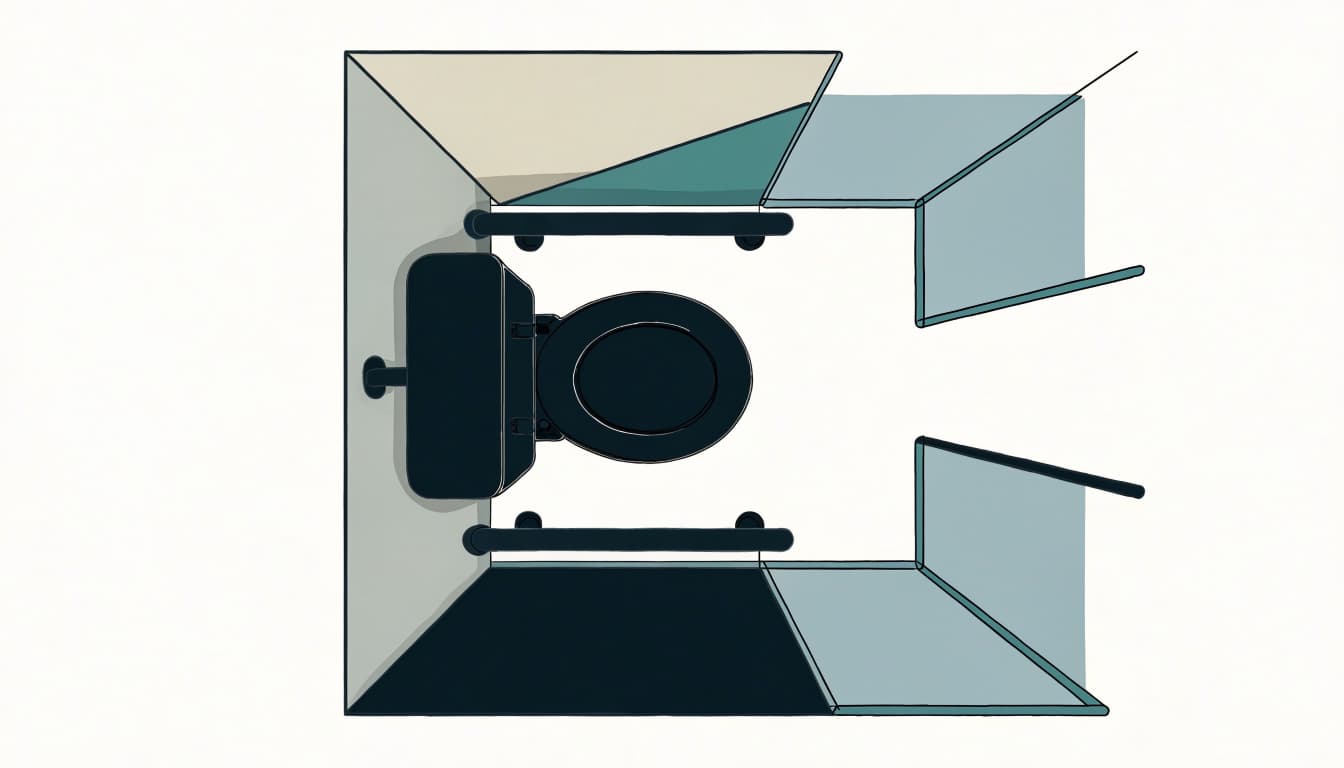
General ADA water-closet clearance is at least 60 inches wide and 56 inches deep. That width isn't centered symmetrically around the toilet. Adult toilet centerlines generally sit 16 to 18 inches from the side wall.
For wheelchair-accessible compartments, minimum depth is 56 inches for wall-hung toilets or 59 inches for floor-mounted toilets. The accessible restroom planning guide illustrates these compartment layouts.
Accessible adult seat height is generally 17 to 19 inches above the finished floor, measured to the seat top.
ADA requirements govern particular settings and projects. Verify what applies to your space instead of treating these dimensions as a universal home-bathroom template.
Measure your bathroom and match the toilet before you buy
Compare your room measurements with the exact product drawing. A generic toilet-size estimate won't settle the question.
Use a simple checklist to confirm the fit
Record your toilet install dimensions before browsing replacements:
- Measure the finished-wall-to-flange-center rough-in, and note any planned changes to wall thickness.
- Measure from the toilet centerline toward both sides, including cabinets, shower edges, and other obstructions.
- Check available front clearance using the new model's installed wall-to-front projection, then open every nearby door.
- Compare installed seat height, overall height, water-supply access, and outlet requirements with the manufacturer's drawing.
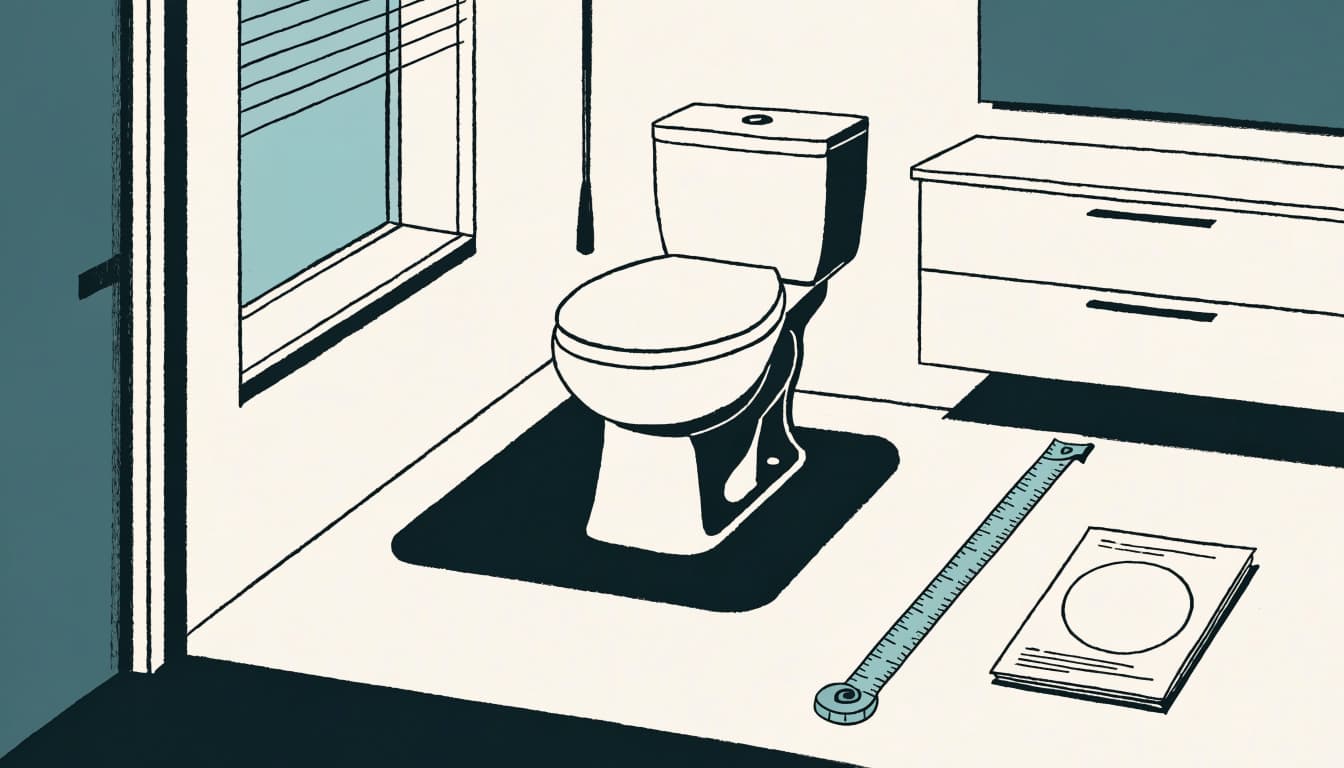
Photograph your existing supply valve and flange area when accessible. Those details help you explain the setup to a supplier or plumber.
Avoid common measurement and installation mistakes
Measuring from trim is a classic way to buy the wrong rough-in. Another is confusing bowl length with the whole toilet's installed projection.
Check the drawing's starting points. An overall porcelain length doesn't necessarily include the specified gap behind the tank. Your clearance calculation needs the installed finished-wall-to-front distance.
Don't assume every replacement uses a 12-inch rough-in. Confirm whether your selected model requires an adapter or has installation details that affect fit.
Also check service access. You need room to reach the shutoff valve, connect the supply, and remove the tank lid.
Finally, account for new flooring before ordering. Your existing floor and flange relationship may change during renovation. Porcelain has no interest in your optimistic rounding.
Check the flange and renovation scope before committing
Good measurements don't repair a damaged connection. Before replacing the toilet, check what you can see around its base and supply.
Persistent rocking, staining, or leakage deserves attention before you order another fixture. These symptoms don't identify the cause by themselves. Have a licensed plumber investigate rather than assuming a new toilet will solve everything.
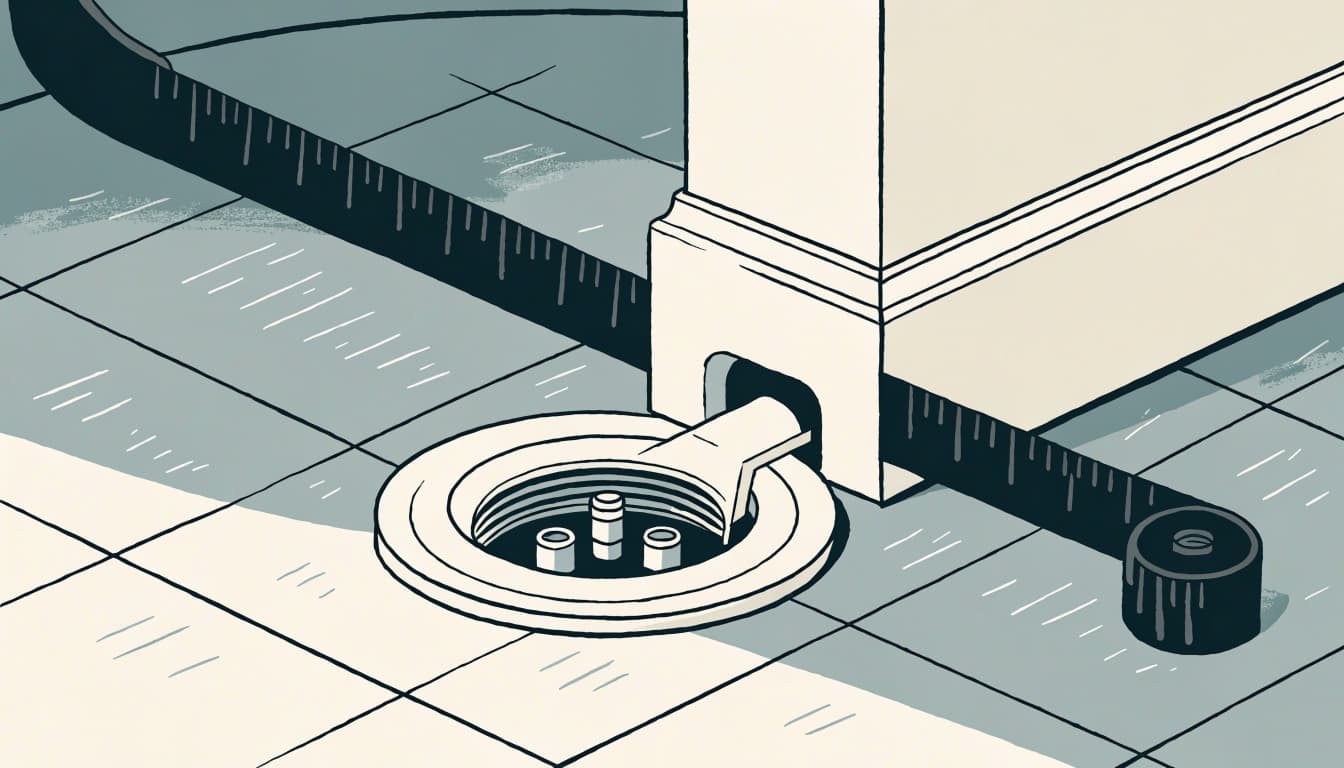
After removal, the flange should be evaluated for damage, secure attachment, and compatibility with the finished floor and replacement toilet. Follow the selected toilet's installation instructions for its connection requirements.
A matching rough-in doesn't prove the flange is ready for installation. Drain position and connection condition are separate checks.
Stop if the flange is damaged, the drain location is unclear, or local requirements are uncertain. That's a plumber call, not a side quest.
If you're renovating an accessible facility, replacement work may involve more than swapping porcelain. The ADA toilet-room checklist helps you identify features needing review, including routes, doors, and fixtures.
Before ordering, save the exact model number and specification sheet with your measurements. Similar-looking toilets within one product family can have different installation requirements.
Streetwear & Casual Styling
Once your measuring session is over, change out of renovation clothes before heading out. Keep anything used around removed plumbing separate from your clean outfit.
For a casual look, build around your Cyber-Brutalist Anime Graphic Tee. Pair bold anime artwork with relaxed cargos and simple sneakers. The print already has enough visual chaos; your pants don't need their own boss battle.
Dark-wash denim gives you another easy option. Add an open overshirt or lightweight jacket, but leave the main graphic visible.
For more combinations, these high-contrast graphic tee outfit ideas cover cargos, denim, and layered looks.
Keep accessories restrained if the artwork is oversized. One strong print, comfortable proportions, and a clean pair of shoes are plenty for a casual hardware-store-to-coffee run.
Frequently Asked Questions
How do you measure a toilet rough-in if the toilet is still installed?
Measure from the finished rear wall to the center of a floor-bolt cap. Keep your tape perpendicular to the wall and above any baseboard. If the mounting arrangement is unusual or concealed, confirm it through the manufacturer's documentation or a plumber.
Can you install a 12-inch rough-in toilet in a 10-inch space?
You shouldn't assume it will fit. A standard 12-inch model can conflict with the wall or fail to align properly with a 10-inch rough-in. Choose a model designed for your measured distance, and verify its drawing before purchase.
Is a round toilet smaller than an elongated toilet?
Round-bowl models are generally shorter front to back, but compact elongated models also exist. Compare complete installed projection, not the bowl-shape label alone. Your available clearance matters more than which silhouette looks smaller in a product photo.
How much space should you leave in front of a toilet?
Common residential minimum guidance is 21 inches beyond the bowl's front edge. Around 30 inches can make movement easier when your room allows it. Check local requirements, since the applicable minimum may differ and accessible layouts follow additional rules.
Does a comfort-height toilet make your bathroom ADA compliant?
A suitable seat height addresses only one part of accessibility. Your layout may also need compliant placement, clearances, grab bars, controls, and door access. The ADA water-closet requirements cover these details. A comfort-height marketing label doesn't certify your entire bathroom.
Make the measurements before the purchase
Measure from the finished wall to the flange center, then check side and front clearance. Compare those numbers with the exact model's drawing, including its installed projection and seat height.
Local codes, accessibility needs, and flange condition can change what your project requires. Resolve those questions before ordering.
Your toilet install dimensions should describe the bathroom you have, including any planned finishes. Get that fit check right, and your replacement won't arrive with an unwanted plumbing subplot.